


Did you know that talking during a blood pressure monitoring process can raise your blood pressure? Yes, even a short conversation can slightly increase the rate and change the reading. That’s why it’s important to do it right and follow all the rules & instructions to get an accurate reading.
Don’t worry, you can do it at home too. You can use a home blood pressure monitor that can be empowering, reassuring, and even life-saving – if you do it right. Many people measure their blood pressure using a device at home, and they take a reading once and think that’s all.
However, that’s not the only thing to do. Accurate home blood pressure monitoring requires the right technique, good posture, cuff placement, and consistency as well.
Today, we are going to reveal all the essential details about using a home BP monitor, how to do it correctly, tips to get accurate readings, and much more in our digital BP monitor guide.
Monitoring your blood pressure at home is not only important, but a requirement today – for a healthy lifestyle, especially if you have BP-related issues. Monitoring blood pressure at home helps you in many ways, such as you can track trends over time, sharing data with your doctor for better care, and catching dangerous spikes early.
However, inaccurate readings can mislead you. And that’s what you really need to avoid.
Now we are going to discuss how to measure blood pressure at home easily and without making any mistakes. Remember the first lesson: Consistency is key!
First, you need to prepare yourself. Before touching the device, do not smoke or exercise for at least 30 minutes. Also, do not use caffeine.
You can use the bathroom if you want, as discomfort can affect your reading. Other than that, sit quietly for 5 minutes of reading.
Why? Your BP can rise after any activity, stress, or even conversation.
Your sitting posture matters. Always sit on a comfortable chair with back support, feet flat on the ground, and legs uncrossed.
Your shoulders should be relaxed, and make sure your arm is comfortably placed on a table so the cuff is at heart level.
Never sit on a soft couch that can affect your posture. Also, use a pillow under your arm if the table is too low.
Nothing matters more than the correct cuff placement.
Here are some tips to do it:
Remember, if the cuff is too low, you may get a false reading. But if it slides down, the reading can be high – which is false.
In case the cuff doesn’t fit, you can buy the Beurer BM 51 easyClip, which is fully automatic and has an easyClip that can be put on with just one hand.
Other than that, you have options to buy BP cuffs & bulb that are available in different sizes and types, so you can choose the one that fits your needs best.
Once your cuff is in place, follow these:
Talking and moving can make your BP go up momentarily, which is surely not what we want.
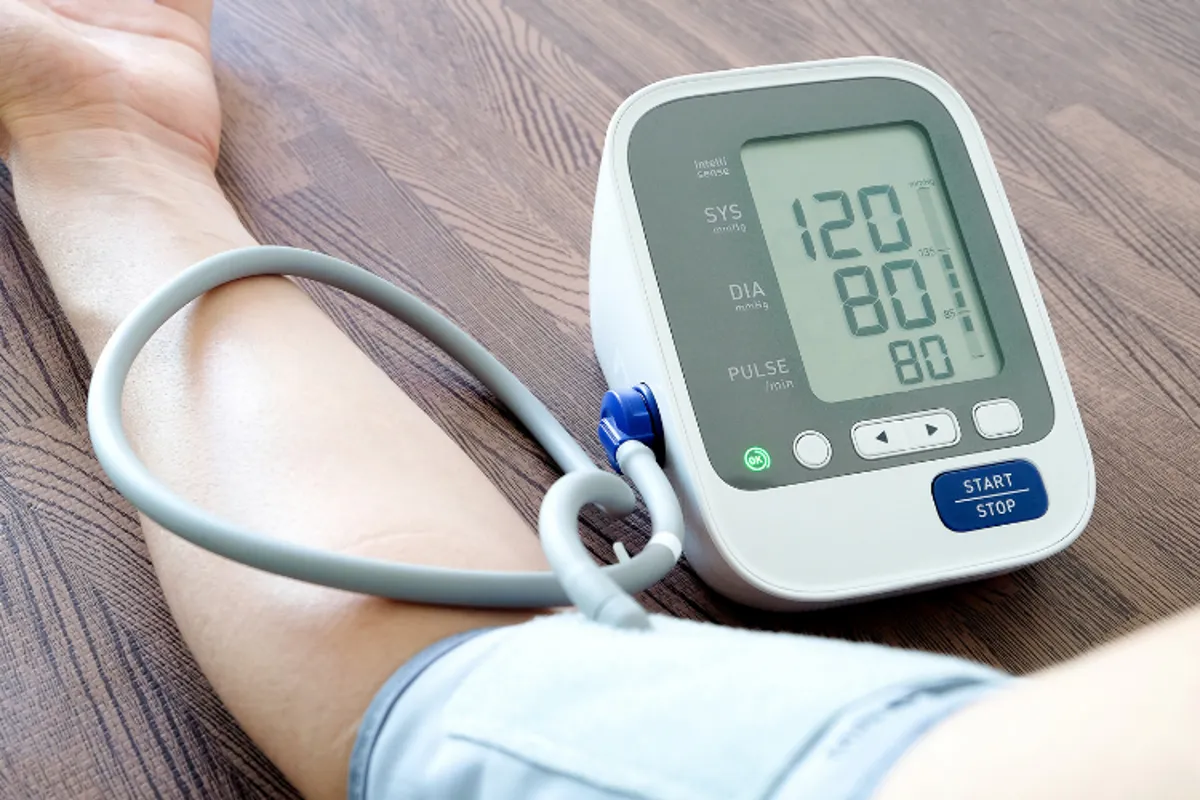
Digital BP monitors come with a big start button.
Do not press the button repeatedly or interrupt the measurement. You need to sit still and let the monitor do its job.
Once you are done, it’s time to write down the results. Here’s what to note:

Another common question that most BP patients ask is, what is the right time to check the BP?
When your body is relaxed and calm. Take readings twice a day to get clear ideas.
In the morning, you should check your BP after one hour of waking up, and it should be before eating, drinking, or taking any medicines.
In the evening, you should take another reading. Ideally, before dinner or after you have some time to unwind.
Well, the frequency of checking your BP totally depends on your health situation. If you are fit and have no BP-related issues, you don’t need to check it unless you feel bad.
Although there are some common recommendations:

Here are a few mistakes we generally make while checking BP:
If you are confused about choosing between a digital BP apparatus and a manual BP apparatus, then this chart will help you make a smart choice.
| Features | Digital BP apparatus | Manual BP apparatus |
| Ease of use | Very easy, push button | Need a stethoscope and skills |
| Accuracy | Accurate for home use | Highly accurate |
| Speed | Fast, automatic | Slower, manual inflation/deflation |
| Display | Shows numbers digitally | Dial or mercury column |
| Portability | Compact, battery-powered | Bulky, less portable |
| Tracking | Store readings | Most log readings are manually |
| Best for | Home monitoring | Clinical use |
Many people are not aware of accurate BP reading tips, and they make the same mistakes again & again. For them, we recommend some important tips to avoid BP reading errors.
Sit with your back fully supported for stability and accuracy.
Keep your feet flat and legs uncrossed to avoid affecting the reading.
Relax quietly for at least 5 minutes before starting.
Rest your arm on a table so the cuff is aligned with your heart.
Ensure the cuff fits properly and is placed on bare skin.
Avoid talking or moving while the measurement is in progress.
Wait 1–2 minutes between readings for consistency and accuracy.
Another confusion many people face is whether our BP is normal, high, or low. They simply don’t know what the reading really means.
Here’s how to interpret your results after measuring your BP at home:
Do not forget to share your home readings with your healthcare provider for better recommendations.
Now that you know how to use a home blood pressure monitor correctly, it’s time to put these tips into action. Consistency, proper technique, and careful tracking are the keys to getting accurate readings that truly reflect your health.
At Surgicals.pk, we provide a huge range of BP monitors and accessories. From digital BP monitors to extra cuffs and storage solutions, we have everything you need to make home monitoring accurate, easy, and convenient.
After all, we know how to make things easier for you without going to the doctor for BP monitoring every time. Select the devices yourself and get the one that best suits your needs.